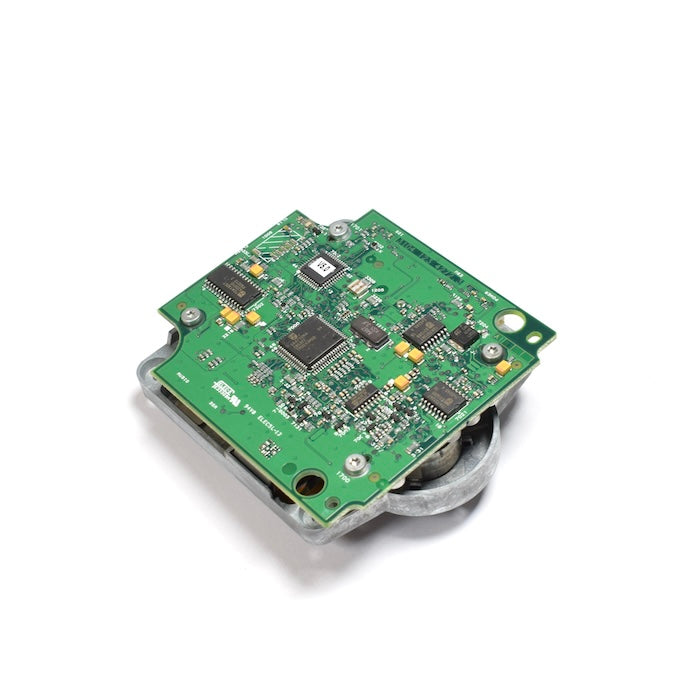
CD Player
CD Player
Couldn't load pickup availability
SKU:01-BS001-8420246
Complete and original CD player module for BeoSound 1 models
More info
More info
Original condition. Tested in models with software up to software 2.5
Module number: 90, 99
Part number: 8420246
Compatibility
Compatibility
Compatible models:
BeoSound 1 models
tested in models with software up to version 2.5
Compatible product type numbers:
2581, 2582, 2583, 2584, 2585, 2586, 2587, 2590
Installation
Installation
Difficulty: Rather fiddly (20-40 minutes)
Tools required: long T15 driver, T10 driver, small pick or slotted driver
Unplug all cables. Slide the grille upwards to remove it. Remove the black plastic film around the display. Unscrew 9 T15 screws: 6 around the top half, and 3 at the bottom, the centre of these being deeply recessed.
Remove the rear cover. Unlock the two keyboard cables from the top of the display and lift the keyboard out. After witnessing the cables, carefully unplug them from the top of the main board: the plugs for the CD and clamper, and ribbon cable for the display. The CD player can now be removed with the clamper mechanism.
Gently remove the dust cover adhered to the top of the CD player. On the bottom plate of the clamper assembly, remove 4 T10 screws, and gently lower the CD player out after again witnessing the position of the cables. Pull the CD player off the four rubber mounts holding it to the bottom plate, and remove the mounts from the plate. The final bracket can now be removed from the CD player with two T10 screws.
On assembly, first attach the bracket to the ingoing CD player, and then the rubber mounts: this is easiest done by pushing them firmly into the mounting points on the player, repeatedly twisting until they locate. Attaching the mounts to the bottom plate is more easily done, but again make sure they're fully seated. Attach and thread the cables before screwing the bottom plate to the clamper mechanism.
Once the completed mechanism is installed and plugged in, install the keyboard by offering both ribbon cables up to the sockets on the display, tilting the keyboard forwards slightly for access, and lifting the locks of the sockets with the pick or pry tool. small holes on each side of the display cover allow for access to the outer locks, but it is fiddly.


